Important:
Using this process will create a Panoply destination in the
us-east-1 region. To use a different region, use the Connecting an existing Panoply destination to Stitch guide.
Step 1: Create a Panoply account
Note: The email address you used to sign into Stitch will be used to create your Panoply destination.
- Sign into your Stitch account.
- Click the Destination tab.
- Click the Panoply.io icon.
- A page explaining what’s included in a Panoply account will display. Click the Create an Account button.
- Click the Create My Account button when a pop-up explaining the use of your email address displays.
Step 2: Wrap up and save your Panoply credentials
It may take a few minutes, but after your Panoply destination is successfully created, the Panoply connection info will display in Stitch:
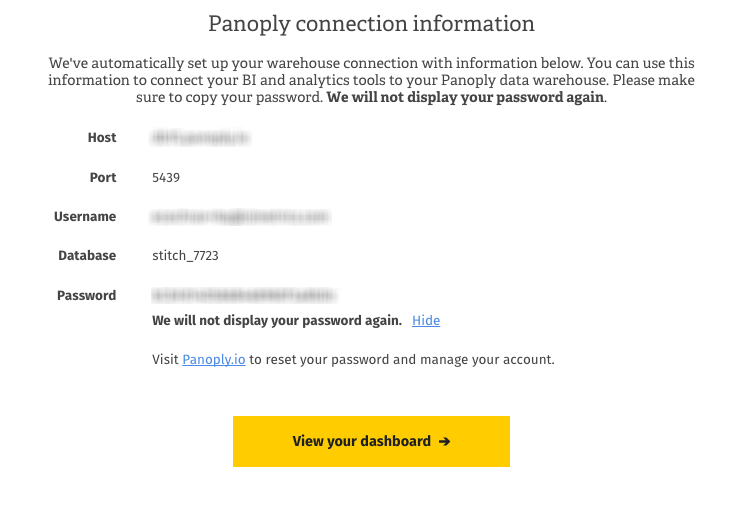
Make sure to copy your password as Stitch won’t display it again.
After you’ve copied your password, click the View Your Dashboard button to wrap things up.
The Panoply destination connection settings will automatically populate in the Destination Settings page. If you need to update the settings at any point, click the Destination tab.
Next steps
After the account is created, you can manage your Panoply settings by signing into Panoply.
| Related | Troubleshooting |
Questions? Feedback?
Did this article help? If you have questions or feedback, feel free to submit a pull request with your suggestions, open an issue on GitHub, or reach out to us.