Prerequisites
An existing Google Cloud Platform (GCP) project with the following setup:
-
Enabled billing for the GCP project. The project must have billing enabled and an attached credit card. This is required for Stitch to successfully load data.
-
An existing Google BigQuery instance in the GCP project. Stitch will not create an instance for you.
-
Permissions in the GCP project that allow you to create Identity Access Management (IAM) service accounts. Stitch uses a service account during the replication process to load data into Google BigQuery. Refer to Google’s documentation for more info about service accounts and the permissions required to create them.
Step 1: Create a GCP IAM service account
Step 1.1: Define the service account details
- Navigate to the IAM Service Accounts page in the GCP console.
-
Select the project you want to use by using the project dropdown menu, located near the top left corner of the page:

- Click + Create Service Account.
- On the Service account details page, fill in the field as follows:
- Service account name: Enter a name for the service account. For example:
Stitch - Serivce account description: Enter a description for the service account. For example:
Replicate Stitch data
- Service account name: Enter a name for the service account. For example:
- Click Create.
Step 1.2: Assign BigQuery Admin permissions
Next, you’ll assign the BigQuery Admin role to the service account. This is required to successfully load data into Google BigQuery.
- On the Service account permissions page, click the Role field.
-
In the window that displays, type
bigqueryinto the filter/search field: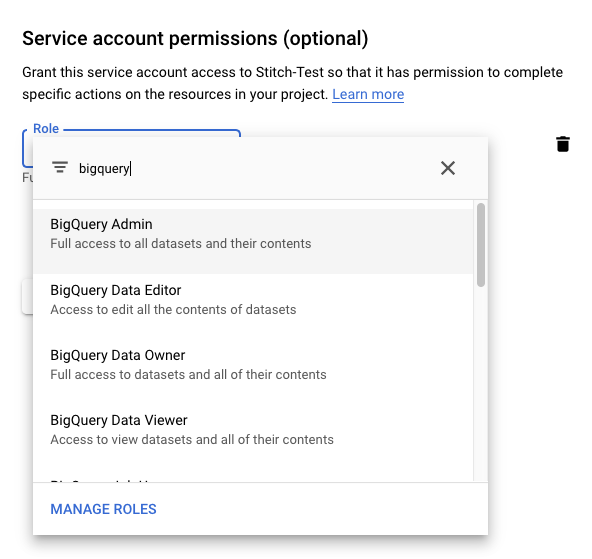
- Select BigQuery Admin.
- Click Continue.
Step 1.3: Create a JSON project key
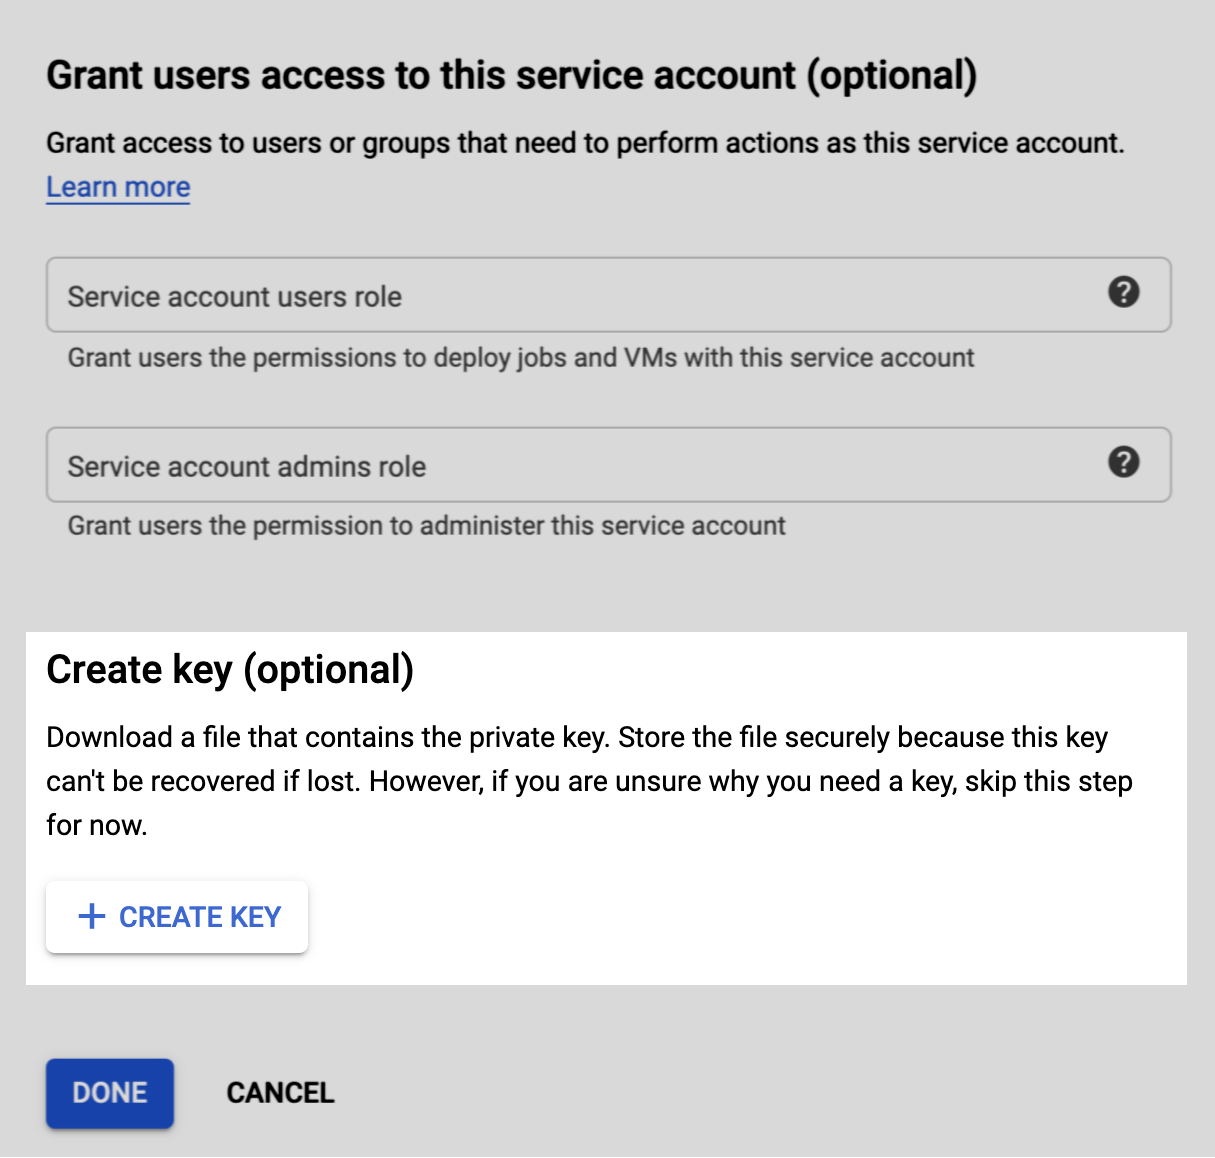
The last step is to create and download a JSON project key. The project key file contains information about the project, which Stitch will use to complete the setup.
- On the Grant users access to this service account page, scroll to the Create key section.
- Click + Create Key.
- When prompted, select the JSON option.
- Click Create.
- Save the JSON project key file to your computer. The file will be downloaded to the location you specify (if prompted), or the default download location defined for the web browser you’re currently using.
Step 2: Connect Stitch
To complete the setup, you’ll upload the GCP project key file to Stitch and define settings for your Google BigQuery destination:
Step 2.1: Upload the JSON project key file to Stitch
- Click the Destination tab.
-
Click the Google BigQuery icon.
- Scroll to the Your service account section.
- In the Your Key File field, click the
 icon and locate the JSON project key file you created in Step 1.3.
Once uploaded, the BigQuery Project Name field will automatically populate with the name of the GCP project in the JSON project key file.
Step 2.2: Select a Google Storage Location
Next, you’ll select the region used by your Google Cloud Storage (GCS) instance. This setting determines the region of the internal Google Storage Bucket Stitch uses during the replication process.
Using the Google Cloud Storage Location dropdown, select your GCS region. Refer to the Google BigQuery v2 reference for the list of regions this version of the Google BigQuery destination supports.
Note: Changing this setting will result in replication issues if data migration isn’t completed correctly.
Step 2.3: Define loading behavior
The last step is to define how Stitch will handle changes to existing records in your Google BigQuery destination:
-
Upsert: Existing rows will be updated with the most recent version of the record from the source. With this option, only the most recent version of a record will exist in Google BigQuery.
-
Append: Existing rows aren’t updated. Newer versions of existing records are added as new rows to the end of tables. With this option, many versions of the record will exist in Google BigQuery, capturing how a record changed over time.
Refer to the Understanding loading behavior guide for more info and examples.
Note: This setting may impact your Google BigQuery costs. Learn more.
Step 2.4: Save the destination
When finished, click Check and Save.
Stitch will perform a connection test to the Google BigQuery database; if successful, a Success! message will display at the top of the screen. Note: This test may take a few minutes to complete.
| Related | Troubleshooting |
Questions? Feedback?
Did this article help? If you have questions or feedback, feel free to submit a pull request with your suggestions, open an issue on GitHub, or reach out to us.